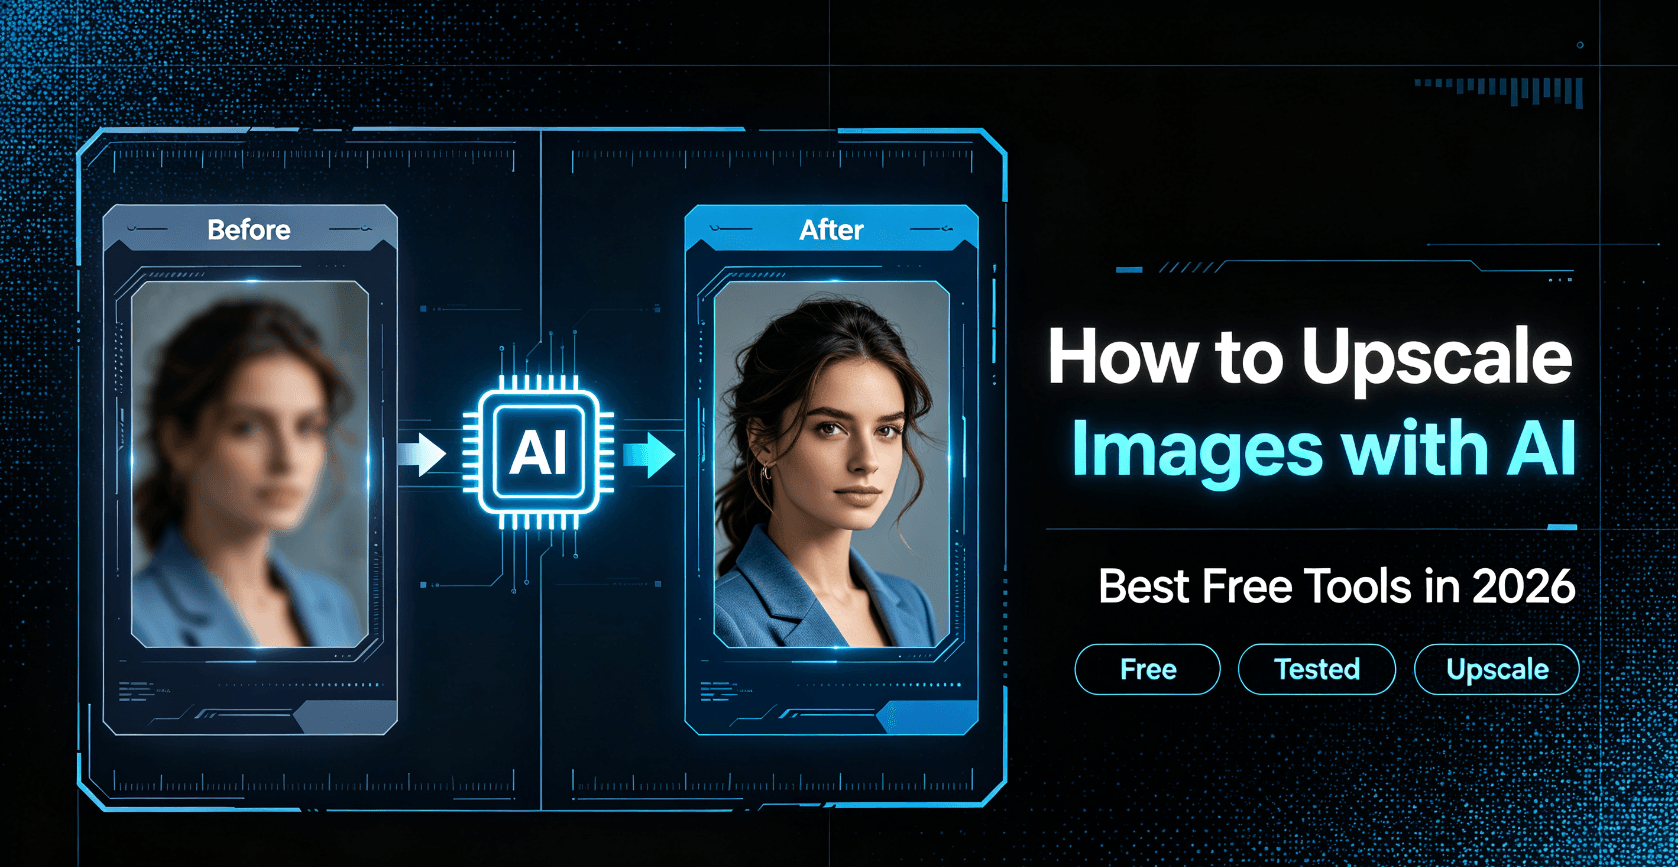
Looking for a free AI image upscaler that actually preserves detail? In 2026 there are dozens of them, and most reviews compare them by looking at a single sharp photo that any tool would handle. That tells you nothing.
Keeping a client is its own skill, separate from doing the work well. If projects tend to end and then go quiet, the closing process is the missing piece.
I tested four free upscalers the way people actually use them — on soft phone photos, compressed screenshots, scanned documents, product shots on white, and artwork with clean linework. Two held up. Two fell apart the moment the source was less than perfect. This is what I found, what each tool is genuinely good at, and which one you should open first for a given job.
The same upscaling test is available as a one-off browser tool: the free AI image upscaler handles a single image without an account, which is enough to judge whether the model suits your material before committing to a paid plan elsewhere.

What Is AI Image Upscaling?
Traditional resizing is a mathematical stretch. Ask Photoshop to take a 400×400 image to 1600×1600 and it interpolates — it guesses each new pixel by averaging its neighbours. Do that four times over and you get something technically larger and visibly worse: soft edges, mush where texture used to be, and a halo of artefacts around any high-contrast boundary.
AI upscaling works differently. A model trained on millions of image pairs learns what detail should exist at higher resolution — what eyelashes look like, how brick texture behaves, what the edge of a leaf does against sky. It then generates that detail rather than averaging its way toward it.
That distinction matters because it produces two very different outcomes depending on what is in your image:
- Structured subjects come back nearly perfectly. Faces, buildings, text, product packaging, architecture — anything with predictable geometry. The model has seen thousands of examples and reproduces them convincingly.
- Unstructured or unique texture gets invented. Freckles, individual hairs, fabric weave, gravel, foliage. The model does not know what was there, so it produces something plausible instead. At 2× this is invisible. At 4× on a portrait it starts to look like a different person’s skin.
The honest one-line version: AI upscaling restores what the model already knows, and invents what it doesn’t. Your job is to know which one your image needs.
This is also why two people can run the same photo through the same tool and get wildly different opinions. One upscaled a logo on a business card. The other upscaled a grandparent’s 1972 wedding photo. Same algorithm, completely different result.
AI Image Upscaler Free vs Paid: Which Should You Choose?
Free tier limits in 2026 fall into four patterns, and it is worth knowing which one you have hit because the workaround is different for each.
| Limit type | What it looks like | Real workaround |
|---|---|---|
| Resolution cap | Free output maxes at 1000–2000px | Upscale once, download, re-upload the result. Two passes often reach 4× total. |
| File count | N free images per day or month | Spread work across tools — the caps do not talk to each other. |
| Watermark | Logo overlaid on output | Rarely worth fighting. Switch tools instead. |
| Format lock | Free tier is PNG only, or JPG only | Convert first. It costs nothing. |
Where paid genuinely wins is not resolution — it is batch consistency. If you have 300 product photos, a paid plan that applies identical settings across the set beats any amount of free manual work, because the value is in the uniformity, not the individual file.
For anything under roughly 20 images, or any one-off job, free is not a compromise. It is the correct choice. The four tools below cover every case I could construct.
The Best Free AI Image Upscalers in 2026
Ranked by what they are actually good at, not by feature list length. Every one of these was tested on the same five source images.
1. Upscale.media — Best Overall Free Upscaler
The one to open first. Upload, pick 2× or 4×, wait about ten seconds, download. No account, no watermark, no queue.
What it does well: product photos, screenshots, and text. It is noticeably conservative — it will not add texture that was not implied by the source, which is exactly the behaviour you want when the image has to stay truthful to the original. On a soft phone photo of a watch, the results were clean enough to use on a product page at 4×.
Where it struggles: faces at 4×. Skin gets slightly smoothed, and the effect compounds — a group photo upscaled at 4× gave everyone a faintly airbrushed quality. At 2× it was fine.
Free limit: a few images per day, and output resolution is capped. For a one-off job it is more than enough; for a batch it is not.

2. ClipDrop Image Upscaler — Fastest for Simple Images
Speed is the entire pitch. Drop an image, it is done before you have switched tabs. The UI is one screen with no options beyond the multiplier, which is either a feature or a limitation depending on whether you wanted control.
What it does well: flat graphics, illustrations, UI screenshots, and anything with large areas of solid colour. It is the best of the four at handling logos and line art without introducing fringing.
Where it struggles: photographs with fine natural texture. Foliage turns slightly painterly, and fabric weave becomes a repeating pattern that was not in the original — a classic signature of a model filling in gaps it cannot resolve.
Free limit: the tightest of the four. It is genuinely useful for a handful of images and frustrating beyond that.
3. imglarger.com / Let’s Enhance — Best for Batch Work
This is the one that behaves like a professional tool rather than a demo. Batch upload, consistent settings across the queue, and output that does not vary between files — which matters more than peak quality when you are processing a set.
What it does well: consistency and volume. Fifty product photos came out looking like they had been treated by the same hand, which is what a catalogue needs. It also has separate modes for photos, art, and text, and picking the right one is worth more than any slider.
Where it struggles: it is slower per image, and the free tier meters you by credits rather than by time. The interface is also busier — there are more knobs, and more ways to set them wrong.
Free limit: limited credits, no watermark, decent output resolution. Best free option if your job is “many images, same treatment”.
4. Waifu2x — Still King for Anime and Art
Built for anime artwork, still unbeaten at it, and quietly excellent at one other thing nobody mentions: removing JPEG artefacts. If you have a compressed screenshot with visible blockiness, Waifu2x on the “noise reduction: high” setting will clean it better than any modern upscaler.
What it does well: clean linework, flat colour, cel shading, and compressed graphics. It understands edges as lines rather than as texture gradients, which is why it does not smear them.
Where it struggles: photographs. Put a portrait through it and you get something that looks painted. It is not a general-purpose tool and it does not pretend to be.
Free limit: fully free and open source. Runs in the browser, or locally if you would rather not upload anything.
That last point is worth underlining: if the image is something you would not upload to a random website, Waifu2x is the only one of the four you can run entirely offline.
Which One Should You Actually Use?
Four tools, one decision. Match the source, not the hype:
| Your source image | Use this | Why |
|---|---|---|
| Product photo, screenshot, or anything with text | Upscale.media | Conservative — keeps text sharp and does not invent detail |
| Flat graphic, logo, UI mockup, illustration | ClipDrop | Best edge handling on solid colour, fastest turnaround |
| More than 20 images needing the same treatment | imglarger | Batch mode with consistent output across the set |
| Anime, line art, or a compressed screenshot | Waifu2x | Line-aware, plus the best JPEG artefact cleanup of the four |
| A photo of a person at 4× | None of them | All four smooth skin. Stay at 2×, or do not upscale at all |
Step-by-Step: How to Upscale an Image for Free
The workflow matters more than the tool choice. Most disappointing upscales are not the algorithm’s fault — they are a bad input or an unrealistic multiplier.
Step 1: Check Your Source Image
Before uploading anything, open the image at 100% zoom and ask two questions.
- Is it actually low resolution, or just displayed small? A 3000px photo that looks soft on your blog is a CSS problem, not an upscaling problem. Right-click and check the real dimensions before you spend credit on it.
- Is it blurry or is it noisy? These need opposite treatment. Blur means detail was never captured and the model has to invent it. Noise means detail is there but obscured, and a denoiser will recover it better than an upscaler will.
A useful rule: if the softness disappears when you view the image at 50% zoom, upscaling will fix it. If it is still soft at 50%, the detail is gone and you are asking the model to make something up.
Step 2: Choose Your Upscaling Factor
Bigger is not better. Pick the smallest multiplier that solves the actual requirement.
- 2× — safe for everything. Faces, texture, and natural detail all survive. If you are unsure, use 2×.
- 4× — safe for structured subjects only. Logos, text, product shots on plain backgrounds, architecture. Not faces, not skin.
- 8× and above — almost never worth it. Artefacts compound faster than detail improves. Two separate 2× passes usually beat one 8× pass.
If you need a specific pixel dimension — say 2000px wide for a marketplace listing — work backwards from that number instead of picking a multiplier and hoping.
Step 3: Upload and Wait
Nothing complicated, but two practical notes.
- Upload the highest-quality version you have — the original PNG, not the JPG you already compressed for the web. Upscaling a compressed file amplifies the compression.
- Check the privacy terms if the image is sensitive. Anything uploaded to a free web tool is processed on someone else’s server. Client work, documents, and anything with a face you do not own should go through a local tool instead.
Step 4: Download and Compare
This is the step people skip, and it is the one that catches bad results.
Open the original and the upscaled version side by side at the same on-screen size — not at 100% each, which makes any upscale look impressive. Put them in two browser windows next to each other and compare at the size you will actually use the image.
Then zoom to 100% on the upscaled version and look at one specific thing: a face if there is one, text if there is any, or a sharp edge between two contrasting colours. That is where artefacts show first.
If it looks worse than the original at normal viewing size, do not ship it. A soft but honest photo beats a sharp but uncanny one every time — and viewers notice the uncanny version even when they cannot say why.

Common Use Cases for AI Upscaling
These are the four situations where upscaling reliably pays for itself — and the one it usually does not.
Old Family Photos
The best and worst case at the same time. Scanned family photos have grain, fading, and often physical damage, and the subjects are faces — which is precisely where upscalers invent most freely.
What works: 2× upscale, then compare. On a 1970s print scanned at 600dpi, 2× made the image usable for a large frame. On the same photo at 4×, everyone’s skin had a plastic quality that made the photo feel wrong even though it was objectively sharper.
What to avoid: running a heavily damaged photo through an upscaler before retouching. It will build the damage into the reconstruction, and then you are cleaning up artefacts you created. Retouch first, upscale last.
E-Commerce Product Photos
The strongest case for upscaling, because product photography has exactly the properties models handle well: structured subjects, controlled backgrounds, and the need for consistency across a catalogue.
Marketplaces have minimum resolution requirements, and a supplier photo at 800px will not clear them. A 4× pass through Upscale.media or an imglarger batch handles this without a reshoot.
One warning: do not use upscaling to fake detail on a product you have not seen. If the texture comes out different from what the customer receives, you have created a returns problem, not solved a resolution problem.
Blog and Social Media Graphics
Usually the cheapest win, and usually already solved. Before upscaling a blog image, confirm it is not just being displayed at the wrong size — most WordPress themes and social platforms are perfectly happy with a 1200px image and will scale it down cleanly.
Where it genuinely helps: reusing an old image at a larger size for a new format. A horizontal 800px photo cropped into a vertical 1080×1350 post loses resolution twice over. Upscale first, then crop.
Thumbnails for Video
A frame grabbed from a 1080p video is only 1920px wide, and video compression has already thrown away detail before you ever extract it. That makes thumbnails a real upscaling case rather than a theoretical one.
Use 2×, and prefer a frame with low motion — a static shot compresses cleanly and gives the model much better material than a frame from a fast pan. Text overlays added after upscaling, never before; upscaling text that is already composited into a compressed frame produces mushy edges.
What AI Upscaling Cannot Do (Yet)
Being clear about this saves more time than any of the tool advice above.
- It cannot recover detail that was never there. If the source is genuinely out of focus, the model produces sharp-looking invented detail — which in a face or a document is worse than honest blur.
- It cannot read text it cannot see. Upscaling a blurry receipt produces confident-looking characters that may be wrong. Never use it on a document you need to trust.
- It cannot fix the wrong problem. Soft image caused by resizing in a page builder, not by a low-resolution file? Upscaling adds no value. Fix the CSS.
- It cannot preserve truth in faces. Every one of these models has been trained on idealised imagery. At 4×, faces drift toward that ideal and away from the person.
- It does not replace a reshoot. If the image matters commercially, a photographer with the right light beats any amount of post-processing, always.
The pattern across all five: upscaling is very good at making an image work at a size it was almost good enough for. It is not good at rescuing an image that was never adequate.
Five Mistakes That Ruin an Otherwise Good Upscale
Almost every bad upscale I produced while testing came from one of these five, not from picking the wrong tool.
- Upscaling a file that was already resized badly. If someone stretched a 500px image to 1500px in a page builder, the damage is baked in. Upscaling the damaged version amplifies it. Go back to the original.
- Chaining tools without checking in between. Running an image through three upscalers in sequence does not compound quality, it compounds whatever each one got wrong. One pass, compare, then decide.
- Upscaling before retouching. Dust, scratches, and JPEG blocks become permanent structure once the model treats them as detail. Clean first.
- Judging at 100% zoom. Every upscale looks impressive at 100% because you are seeing more pixels than before. Judge at the size the image will actually appear on screen.
- Using the wrong mode. Every tool that offers photo / art / text modes means it. A logo run through a photo model gets texture it should not have; art through a photo model gets smoothed into mush.
The first and the fifth account for most of the frustration. Going back to the original file and picking the correct mode takes thirty seconds and fixes more than any amount of re-running.
Three Questions Before You Ship an Upscaled Image
Technical quality is only half the decision. These three questions catch the failures that look fine on screen but cause problems later.
- Does it still look like the original subject? Put the two side by side and compare faces specifically. If the person looks like a slightly different person, the image is not usable — no matter how sharp it is.
- Would I be comfortable if someone compared these two files? This is the honest test for anything commercial. If the upscaled version implies detail the original did not show, you are misrepresenting the product.
- Is the file size worth it? A 4× PNG can easily be 10MB. For a web image that will be displayed at 1200px, that is wasted bandwidth and a slower page — which is the exact problem you were probably trying to solve. Export as WebP at the display size you need.
That last point catches a surprising number of people. Upscaling to a huge file and then letting the browser scale it back down gives you the worst of both: slow loading and no visible benefit. Upscale to your target display size, then stop.
Quick Comparison Table
| Tool | Best for | Max upscale | Batch | Watermark | Speed |
|---|---|---|---|---|---|
| Upscale.media | Products, screenshots, text | 4× | No | No | ~10s |
| ClipDrop | Flat graphics, logos, UI | 4× | No | No | ~3s |
| imglarger | Volume work, consistency | 8× | Yes | No | ~20s |
| Waifu2x | Anime, line art, deblocking | 2×–4× | No | No | Varies |
Final Thoughts
The honest summary after testing all four: two of them are genuinely worth bookmarking, and knowing which one to open matters far more than which one ranks first.
Upscale.media is the default for anything that has to stay accurate — products, screenshots, images with text. Waifu2x is the default for linework and for any compressed image you want cleaned up. ClipDrop wins on speed and flat graphics. imglarger is the only one worth using when you have a queue rather than a single file.
And the thing no tool will tell you: the best upscale is usually the smallest one. If 2× solves the problem, 4× does not solve it better — it just gives the model more room to invent.
Start with 2×, compare at the size you will actually use, and only go further if the result still falls short.
Related Articles
- Free AI Image Generators That Actually Work in 2026
- Free AI Background Removers Tested: Which Keep the Edges Clean
- AI Video Enhancement: What It Can and Cannot Fix
Try It Yourself: Our Free Image Upscaler
Want to run your own comparison instead of taking my word for it? Our free upscaler handles the common cases — product shots, screenshots, and images with text — at 2× and 4×, with no account and no watermark.
Upload one image, upscale it, and look at the result at the size you actually need. That is the only test that matters.