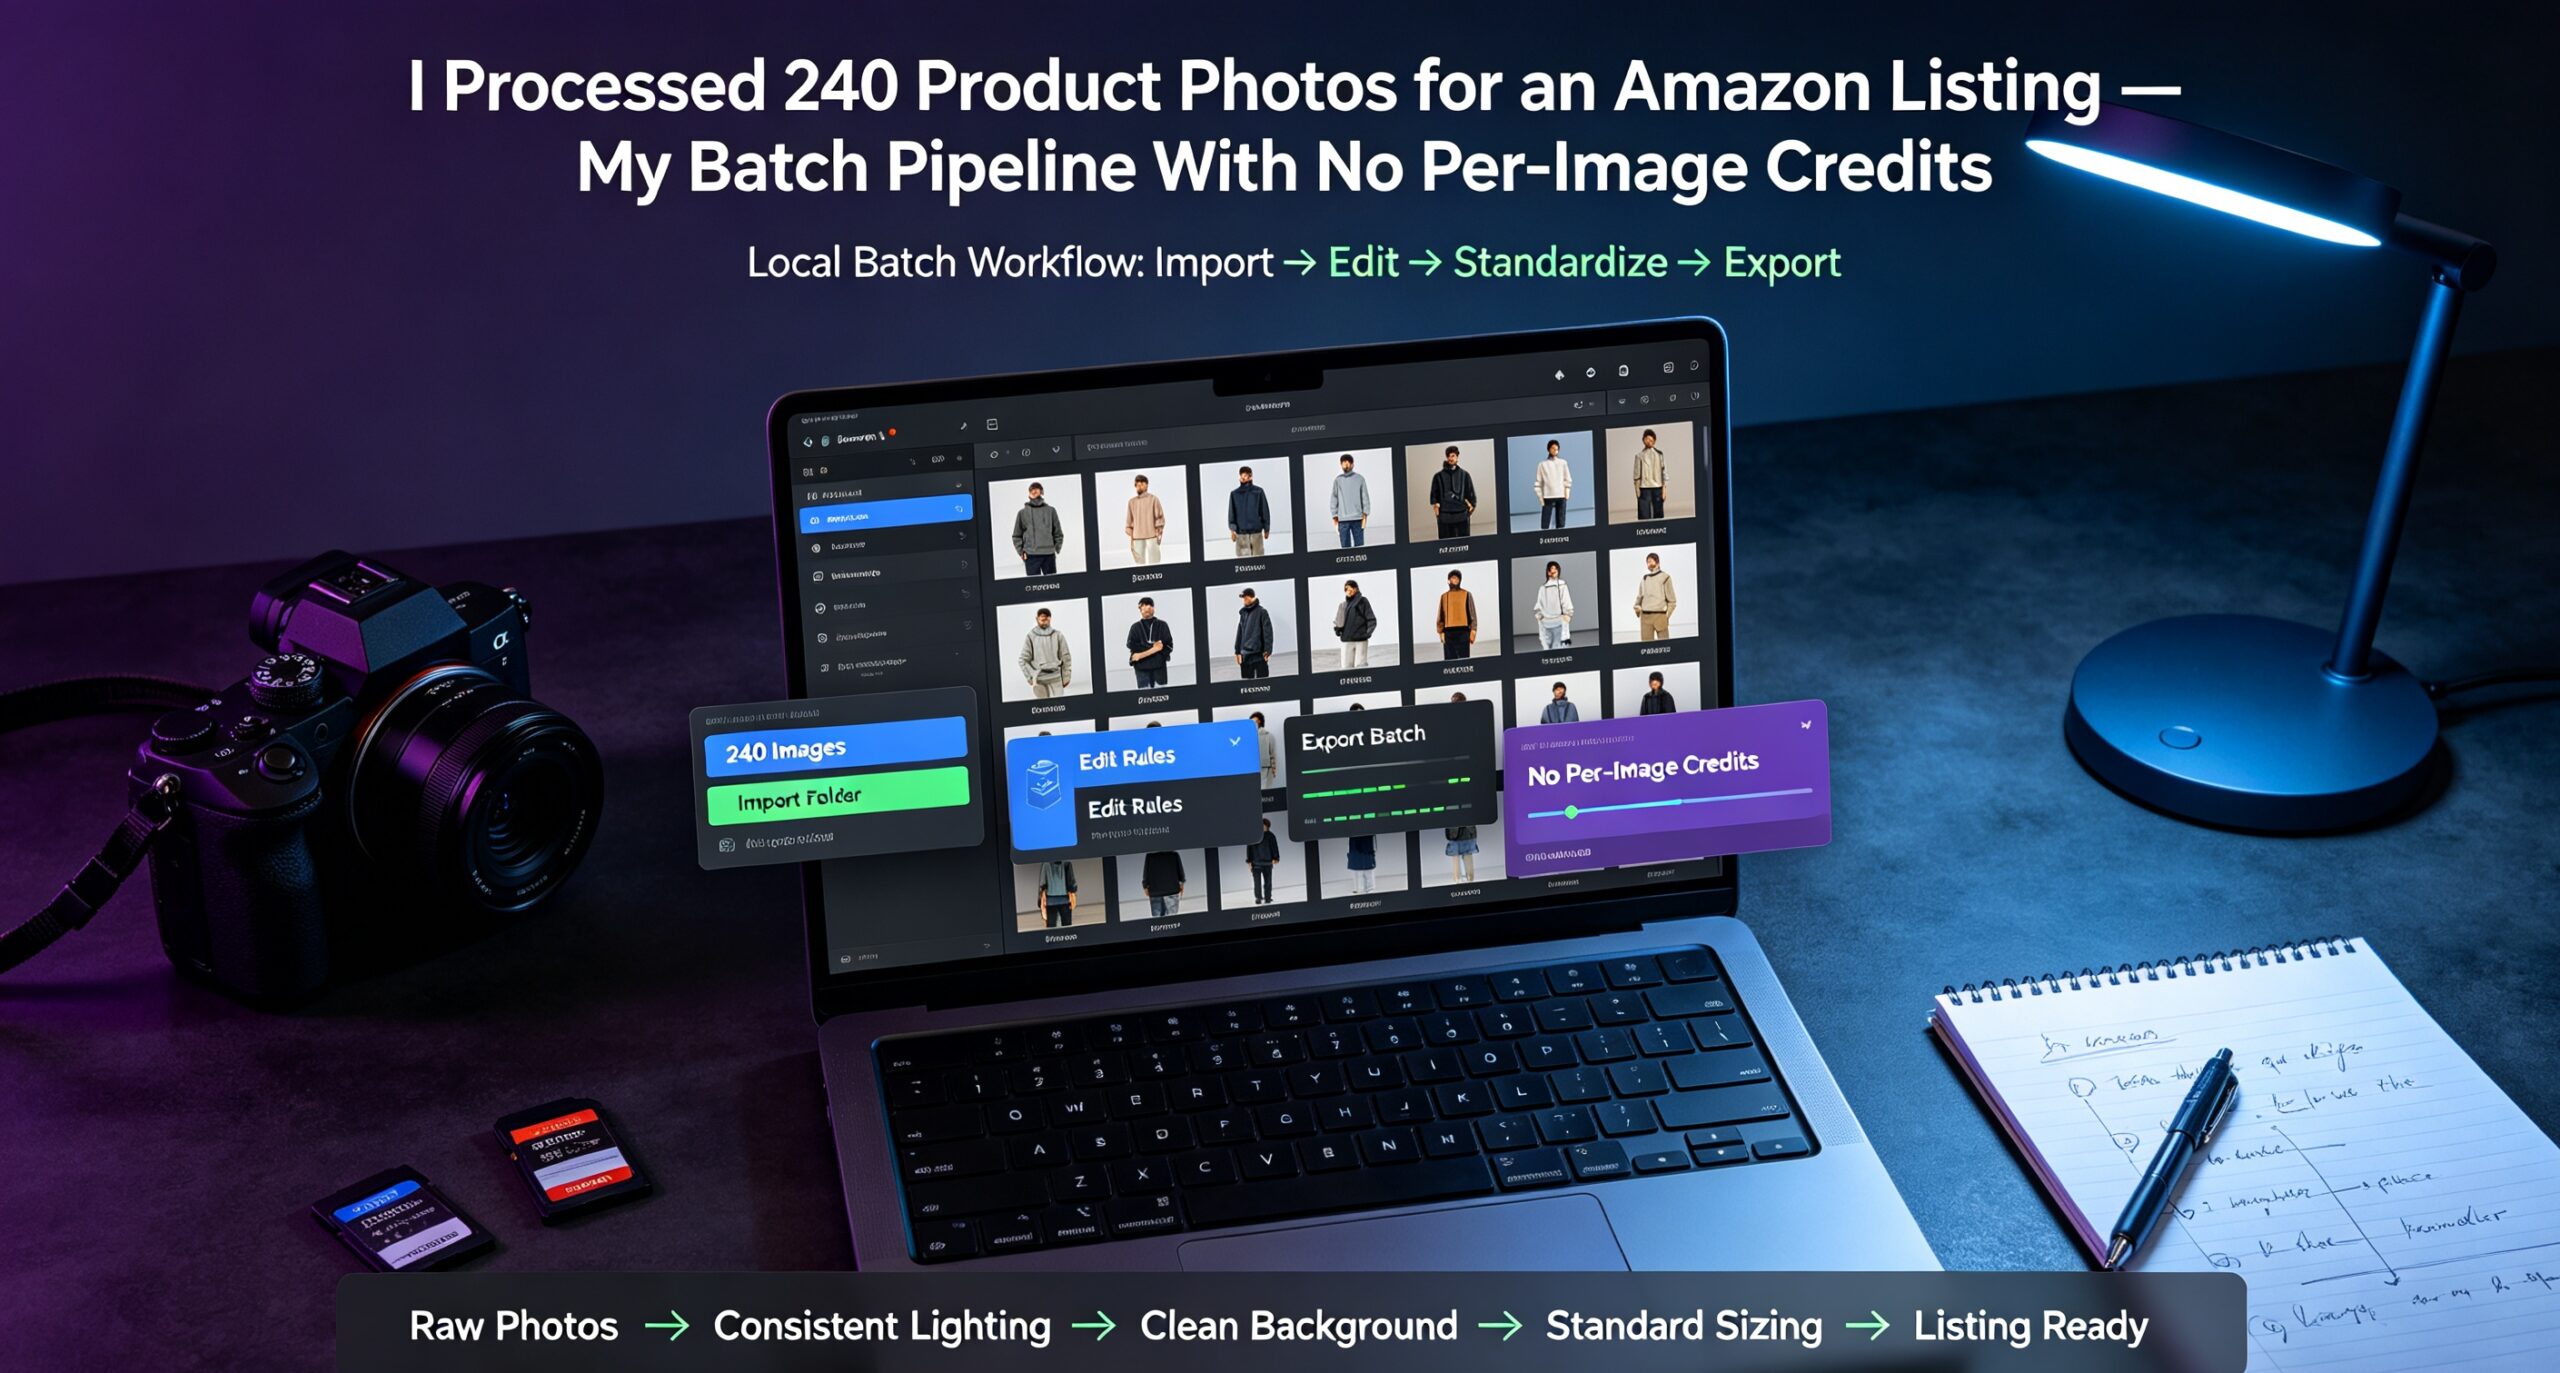
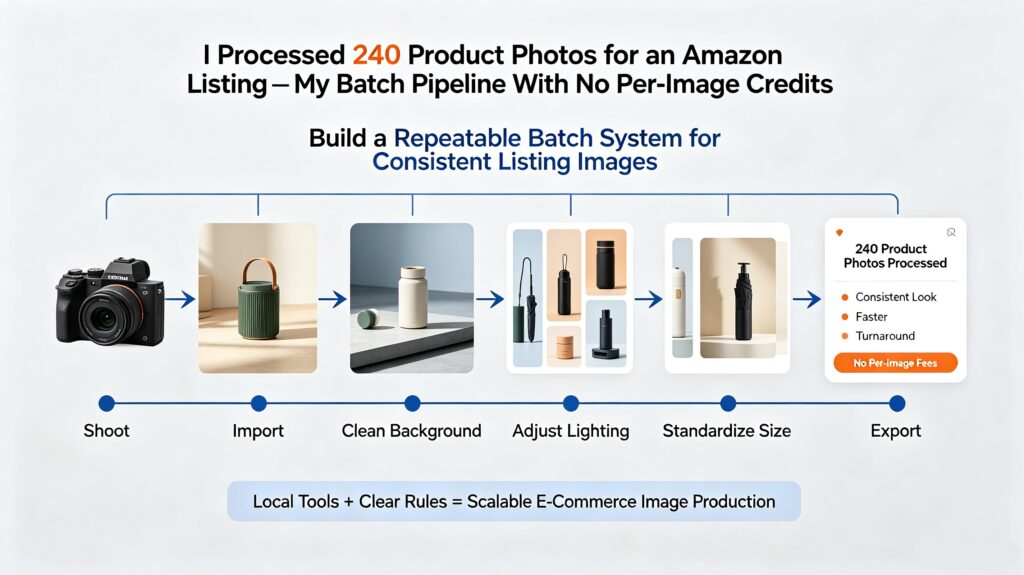
A seller I do production work for sent me a folder named NEW_PRODUCTS_DROP — 240 phone photos of desk organizers, shot on a kitchen table, all named IMG_####.jpg. They needed marketplace-ready images by Friday. Here is the exact batch product photo workflow I used to turn that folder into three deliverable sets, and why I no longer pay per image to do it.
Why 240 photos is a different problem than 1 photo
Editing one product photo is a five-minute job in any editor. Editing 240 is not 240×five minutes — it is a completely different workflow problem. The moment you cross roughly 50 images, the bottleneck stops being the retouching and starts being the logistics:
- Consistency: every image needs the same background treatment, or the listing grid looks like a flea market.
- Per-channel specs: Amazon, eBay and Etsy each want different pixel dimensions and aspect ratios.
- Naming: marketplaces and my own archive both choke on 240 files called
IMG_4471.jpg. - Cost: most background-removal services bill per image, so the 240th image costs the same as the 1st — which is fine once, and brutal every month.
My batch product photo workflow handles all four in one pass. Here it is.
The 5-step batch pipeline
1. Sort and quarantine before you touch anything
The single biggest time-saver is throwing files away first. I open the folder, sort by name, and delete the obvious junk — hands in frame, blurry focus, duplicates shot two seconds apart. On this drop I cut 240 down to 216 in about eight minutes. Editing images you will never use is the most expensive mistake in batch work.
2. Batch-remove backgrounds to a consistent white
I set the cutout to a pure white (#FFFFFF) background on all 216 at once. Amazon’s main-image rule wants the product against pure white, and eBay/Etsy listings simply look more professional when the grid is uniform. Doing this in one batch queue instead of one file at a time is the difference between a coffee break and an afternoon.
3. Resize to each marketplace’s spec with presets
This is where per-channel work usually eats a whole evening. I export three sets from the same originals:
- Amazon: 2000×2000 px square (the size that keeps zoom enabled).
- eBay: 1600×1600 px square.
- Etsy: 2000×2000 px, plus a 1000×1500 px vertical crop for the shop’s mobile feed.
Resize presets mean I pick a channel once and the whole folder comes out at the right dimensions — no per-file math, no accidental 1200×900 stragglers breaking the grid.
4. Rename by SKU, not by camera
Auto-rename with a prefix and sequence number turns IMG_4471.jpg into desk-organizer-01.jpg. It sounds cosmetic. It is not. When the client emails back “send me another shot of sku 14,” the file already matches the SKU, and when the marketplace rejects an image I can find it in seconds instead of scrolling a wall of camera filenames.
5. Convert, compress and export web-ready
Finally I export WebP copies for the client’s own storefront so the category page loads fast, keeping the PNG masters for the marketplace uploads. Format conversion across the whole folder is one click; doing it per image is where people give up and ship 4 MB JPEGs that wreck their page speed.
If you want the cutout step in isolation, I covered the exact background removal tutorial separately; and for the wider picture of editing product photography on a budget, see my ecommerce photo editing workflow.
The real numbers: 240 photos, 40 minutes, $0 in credits
Here is how this run actually went, so you can judge whether the batch product photo workflow is worth adopting:
| Step | Images | Time | Cost |
|---|---|---|---|
| Sort & quarantine | 240 → 216 | 8 min | $0 |
| Batch background removal | 216 | 12 min | $0 |
| Resize to 3 marketplace specs | 648 exports | 9 min | $0 |
| Auto-rename to SKU | 648 | 1 min | $0 |
| Convert to WebP + compress | 216 | 6 min | $0 |
| Total | 240 in | ~36 min | $0 in per-image fees |
The number that matters is the last column. At a typical $0.20 per background removal, 216 images would have cost roughly $43 for this one drop — and that is before the resizing and conversion some services also meter. A folder like this arrives once or twice a month for this client, so the pay-per-image meter would clear $500 a year on this account alone. That is the whole argument for a one-time, offline batch tool: the 216th image costs exactly the same as the first, which is nothing extra.
One more upstream link worth reading if you also shoot video listings: my offline video compression workflow keeps those files local too.
Why offline matters beyond the bill
There is a second reason I run this pipeline locally rather than on a cloud service: the photos never leave my machine. For client work that is not a nice-to-have. Unreleased products, a seasonal drop that has not gone live, a client’s own branding — all of it stays on the laptop. Cloud tools are fine for a one-off headshot; for a folder of 240 unannounced products, “we upload your images to our servers” is a sentence I would rather not have to explain to a client.
Where this workflow is honestly the wrong tool
Credibility means naming the limits, not just the wins:
- Creative retouching still needs a real editor. This pipeline standardises, cuts out, resizes and renames. It does not remove reflections, rebuild a chipped edge, or composite a model into a scene.
- Truly awful source photos stay awful. Batch processing is not a rescue service — the sort step exists precisely because no tool fixes a blurry, badly lit original.
- One-off single images do not need a pipeline. If you edit five photos a month, a free web tool is genuinely the right answer.
Frequently asked questions
How long does 240 photos take?
Roughly 35-40 minutes on a laptop, most of it the initial sorting by hand. The batch steps themselves run unattended.
Do I need a powerful computer?
No. Batch cutout and resize are lightweight; an 8 GB laptop handles hundreds of images without drama, which is the point of running the model locally rather than renting GPU time per image.
Will the background removal handle tricky edges?
For clean product shots — boxes, bottles, electronics, apparel on a plain surface — yes. For a product with genuinely transparent or hair-fine edges you should still eyeball the results before shipping, which is true of every cutout tool at any price.
Can I use the same pipeline for client proofs?
Yes, and you should. Batch-watermark the review set, then export the clean set once the client approves. Two clicks, no second pass.
Bottom line
The batch product photo workflow above is not clever. It is five boring steps applied to the whole folder instead of one file at a time — and that is exactly why it works. If you prepare product photos in volume, the win is not a fancier cutout; it is removing the per-image cost and the per-file manual work so that photo 240 is no harder than photo 1. I run mine with BulkPhoto AI, a one-time $29 desktop tool with no credits and no subscription — but the five-step order matters more than the software you point at it.
Disclosure: this article contains affiliate links. If you buy through them I may earn a commission at no extra cost to you. I only recommend tools I actually use in my own client workflow.