I spent last year building an offline-only AI video studio. Here’s exactly what I did, what I spent, and — most importantly — what actually worked.
**Why offline?** Three reasons:
1. **Privacy.** Every clip you generate on Runway, Pika, or Kling trains someone else’s model. If you’re working on client content or personal projects with sensitive material, that’s a real concern.
2. **Cost.** At $0.05-0.10 per second of generated video, a 5-minute project costs $15-30. Every. Single. Time. Local is a one-time hardware cost.
3. **Control.** No surprise shutdowns, no model deprecation, no API rate limits.
Let me show you exactly how I set mine up.
## Step 1: Hardware — What You’ll Actually Need
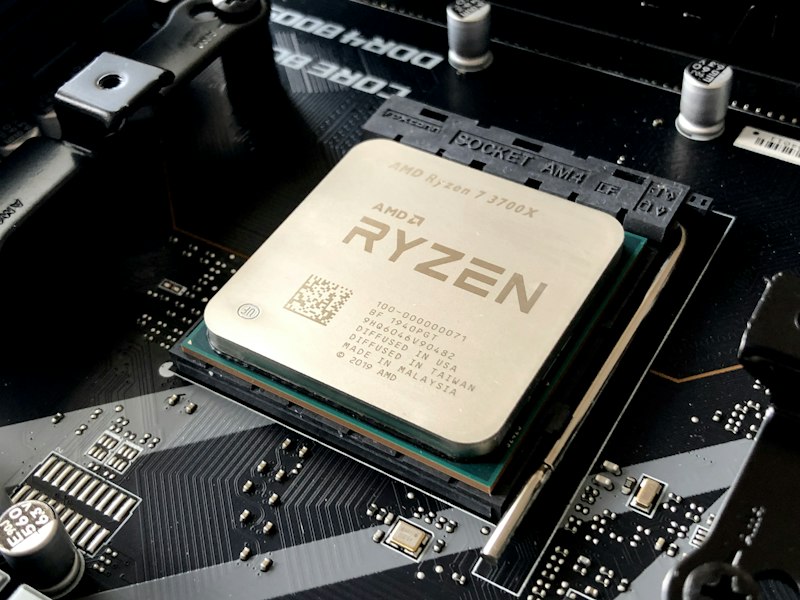
**The honest answer:** A used gaming PC with an NVIDIA GPU.
| Component | Minimum (it works) | Recommended (it’s fast) |
|———–|——————-|————————|
| GPU | RTX 3060 12GB (used: ~$200) | RTX 3090 24GB (used: ~$700) |
| RAM | 16GB DDR4 | 32GB DDR5 |
| Storage | 512GB SSD | 1TB NVMe SSD |
| CPU | Ryzen 5 / i5 | Ryzen 7 / i7 |
Here’s the thing nobody tells you: **VRAM is the bottleneck.** The 12GB on an RTX 3060 will generate 512×512 video at 24 frames. If you want 1080p, you need 24GB minimum. I started with a 3060 and upgraded to a 3090 within three months. The difference is night and day.
**If you don’t have a dedicated GPU:** You can run some models on CPU, but a 10-second clip might take 20-30 minutes instead of 3-4 minutes. It’s possible, just… painful.
## Step 2: The Software Stack
Here’s the exact stack I use. Every piece is free and open-source:
### Core Engine: ComfyUI
This is the backbone. It’s a node-based interface for Stable Diffusion that lets you chain models, LoRAs, and control nets together. Think of it as the Blender of AI video.
**Installation** (Windows):git clone https://github.com/comfyanonymous/ComfyUI
cd ComfyUI
pip install -r requirements.txt
python main.py
### Video Models I Actually Use
– **AnimateDiff** — the standard for turning images into short animations. Free, community-maintained, and improving fast.
– **Stable Video Diffusion (SVD)** — generates video directly from text or images. Heavier but higher quality.
– **Mochi 1** — newer model, handles longer clips (up to 120 frames).
### Supporting Tools
– **FFmpeg** — for assembling frames into video files, adding audio, and transcoding. Every creator needs this.
– **Faster-Whisper** — for adding captions and subtitles locally.
– **ImageMagick** — for batch thumbnail generation and image prep.
## Step 3: Generating Your First Video
Let’s walk through a real example. I’ll generate a 5-second clip of “a cyberpunk city street at night with neon signs.”
### In ComfyUI:
1. Load the AnimateDiff workflow from the examples folder
2. Select your model (I use majicMIX_realistic_v7 for realistic output)
3. Enter your prompt: cyberpunk city street, neon signs, rain, cinematic lighting, 4k, high detail
4. Set negative prompt: blurry, low quality, distorted faces, weird hands, jittery motion
5. Set frame count to 32 (5 seconds at ~6 fps)
6. Click “Queue Prompt”
**Expected time on RTX 3090:** About 2 minutes for 32 frames.
**Expected time on RTX 3060:** About 5-6 minutes.
The first clip might look rough. That’s normal — prompt engineering for video is different from images. Here are the settings I landed on after weeks of tweaking:
– **CFG Scale:** 7.0 (lower = less prompt adherence but more natural motion)
– **Sampling steps:** 25 (more steps = smoother but slower)
– **Motion scale:** 1.1 (controls how much motion happens; 0.8 is subtle, 1.5 is chaotic)
## Step 4: Adding Audio and Voiceover
Your video is silent at this point. Here’s how I add audio entirely offline:
### Music
– **Uppbeat** (free, requires account) or **Pixabay Music** (completely free, no attribution needed)
– Download licensed-free tracks from their CC0 library
– Use FFmpeg to merge: ffmpeg -i video.mp4 -i audio.mp3 -c:v copy -c:a aac output.mp4
### Voiceover (TTS)
If you want narration without recording your own voice:
– **Piper TTS** outputs high-quality speech from text. Takes about 2 seconds to generate 30 seconds of speech on the RTX 3060.
– **Edge-TTS** is also excellent — I use this for most of my tutorials.
### Subtitles & Captions
– Run the audio through faster-whisper to generate a transcript
– Use FFmpeg’s subtitles filter or a local tool like Subtitle Edit to embed them
## Step 5: Post-Processing and Assembly
The final step is assembling everything. I use **DaVinci Resolve** (free) for this, but even a simpler editor like Shotcut works:
1. Import your AI-generated clips
2. Arrange them on the timeline
3. Add transitions (simple crossfades work best — complex transitions clash with AI video artifacts)
4. Layer in your voiceover or music
5. Add captions (I position them in the lower third)
6. Export at 1080p, H.264, 30fps
**Pro tip:** AI-generated video has a “look” — slightly floaty, dreamlike motion. Lean into it. Don’t try to make it look like traditional footage. Use it for segments where that ethereal quality adds to the content (B-roll, dream sequences, abstract concepts, backgrounds).
## The Full Cost Breakdown

| Item | Cost |
|——|——|
| Used RTX 3090 | $700 |
| Rest of PC (upgrade from existing) | $200 |
| Software | $0 |
| **Total one-time** | **$900** |
| **Monthly cost** | **$0** |
Compare this to cloud:
– Runway Pro: $95/month (625 credits, ~500 seconds of video)
– Pika Pro: $35/month
– ElevenLabs: $22/month
– Various APIs: $50-100/month
**Total cloud: ~$200-250/month.**
**Total local after 3 months: $0.**
After 4 months, local is cheaper. After 12 months, you’ve saved over $2,000. And your data stays on your machine.
## What I Learned the Hard Way
Some mistakes I made so you don’t have to:
1. **Don’t chase the latest model.** AnimateDiff + a good checkpoint beats Mochi 1 on a 3060. Newer = better only if you have the hardware.
2. **Spend time on your negative prompt.** “Worst quality, low quality, deformed, distorted, disfigured, wrong hands” — this single line saved me hours of re-rendering.
3. **Batch before you render.** Generate 10 variations at once using a batch node. Pick the best one. Individual generation is a time trap.
4. **Stabilize in post.** Desqueeze’s free stabilizer or even DaVinci Resolve’s stabilization can fix the micro-jitter that’s common in AI video.
## Is It Worth It?
If you’re making 2-3 videos per week for social media or YouTube: **yes, absolutely.** The quality gap between local and cloud is closing fast, and the cost savings are real.
If you need Hollywood-grade production quality tomorrow: **no, use Runway.** The cloud models are still ahead for consumer-ready output.
But for everyone in between — creators, small businesses, marketers, educators — a local AI video setup is a genuinely practical option today. Not next year. Today.
*Hardware prices based on used market (mid-2026). Your mileage will vary. This guide is based on my personal setup and workflow.*