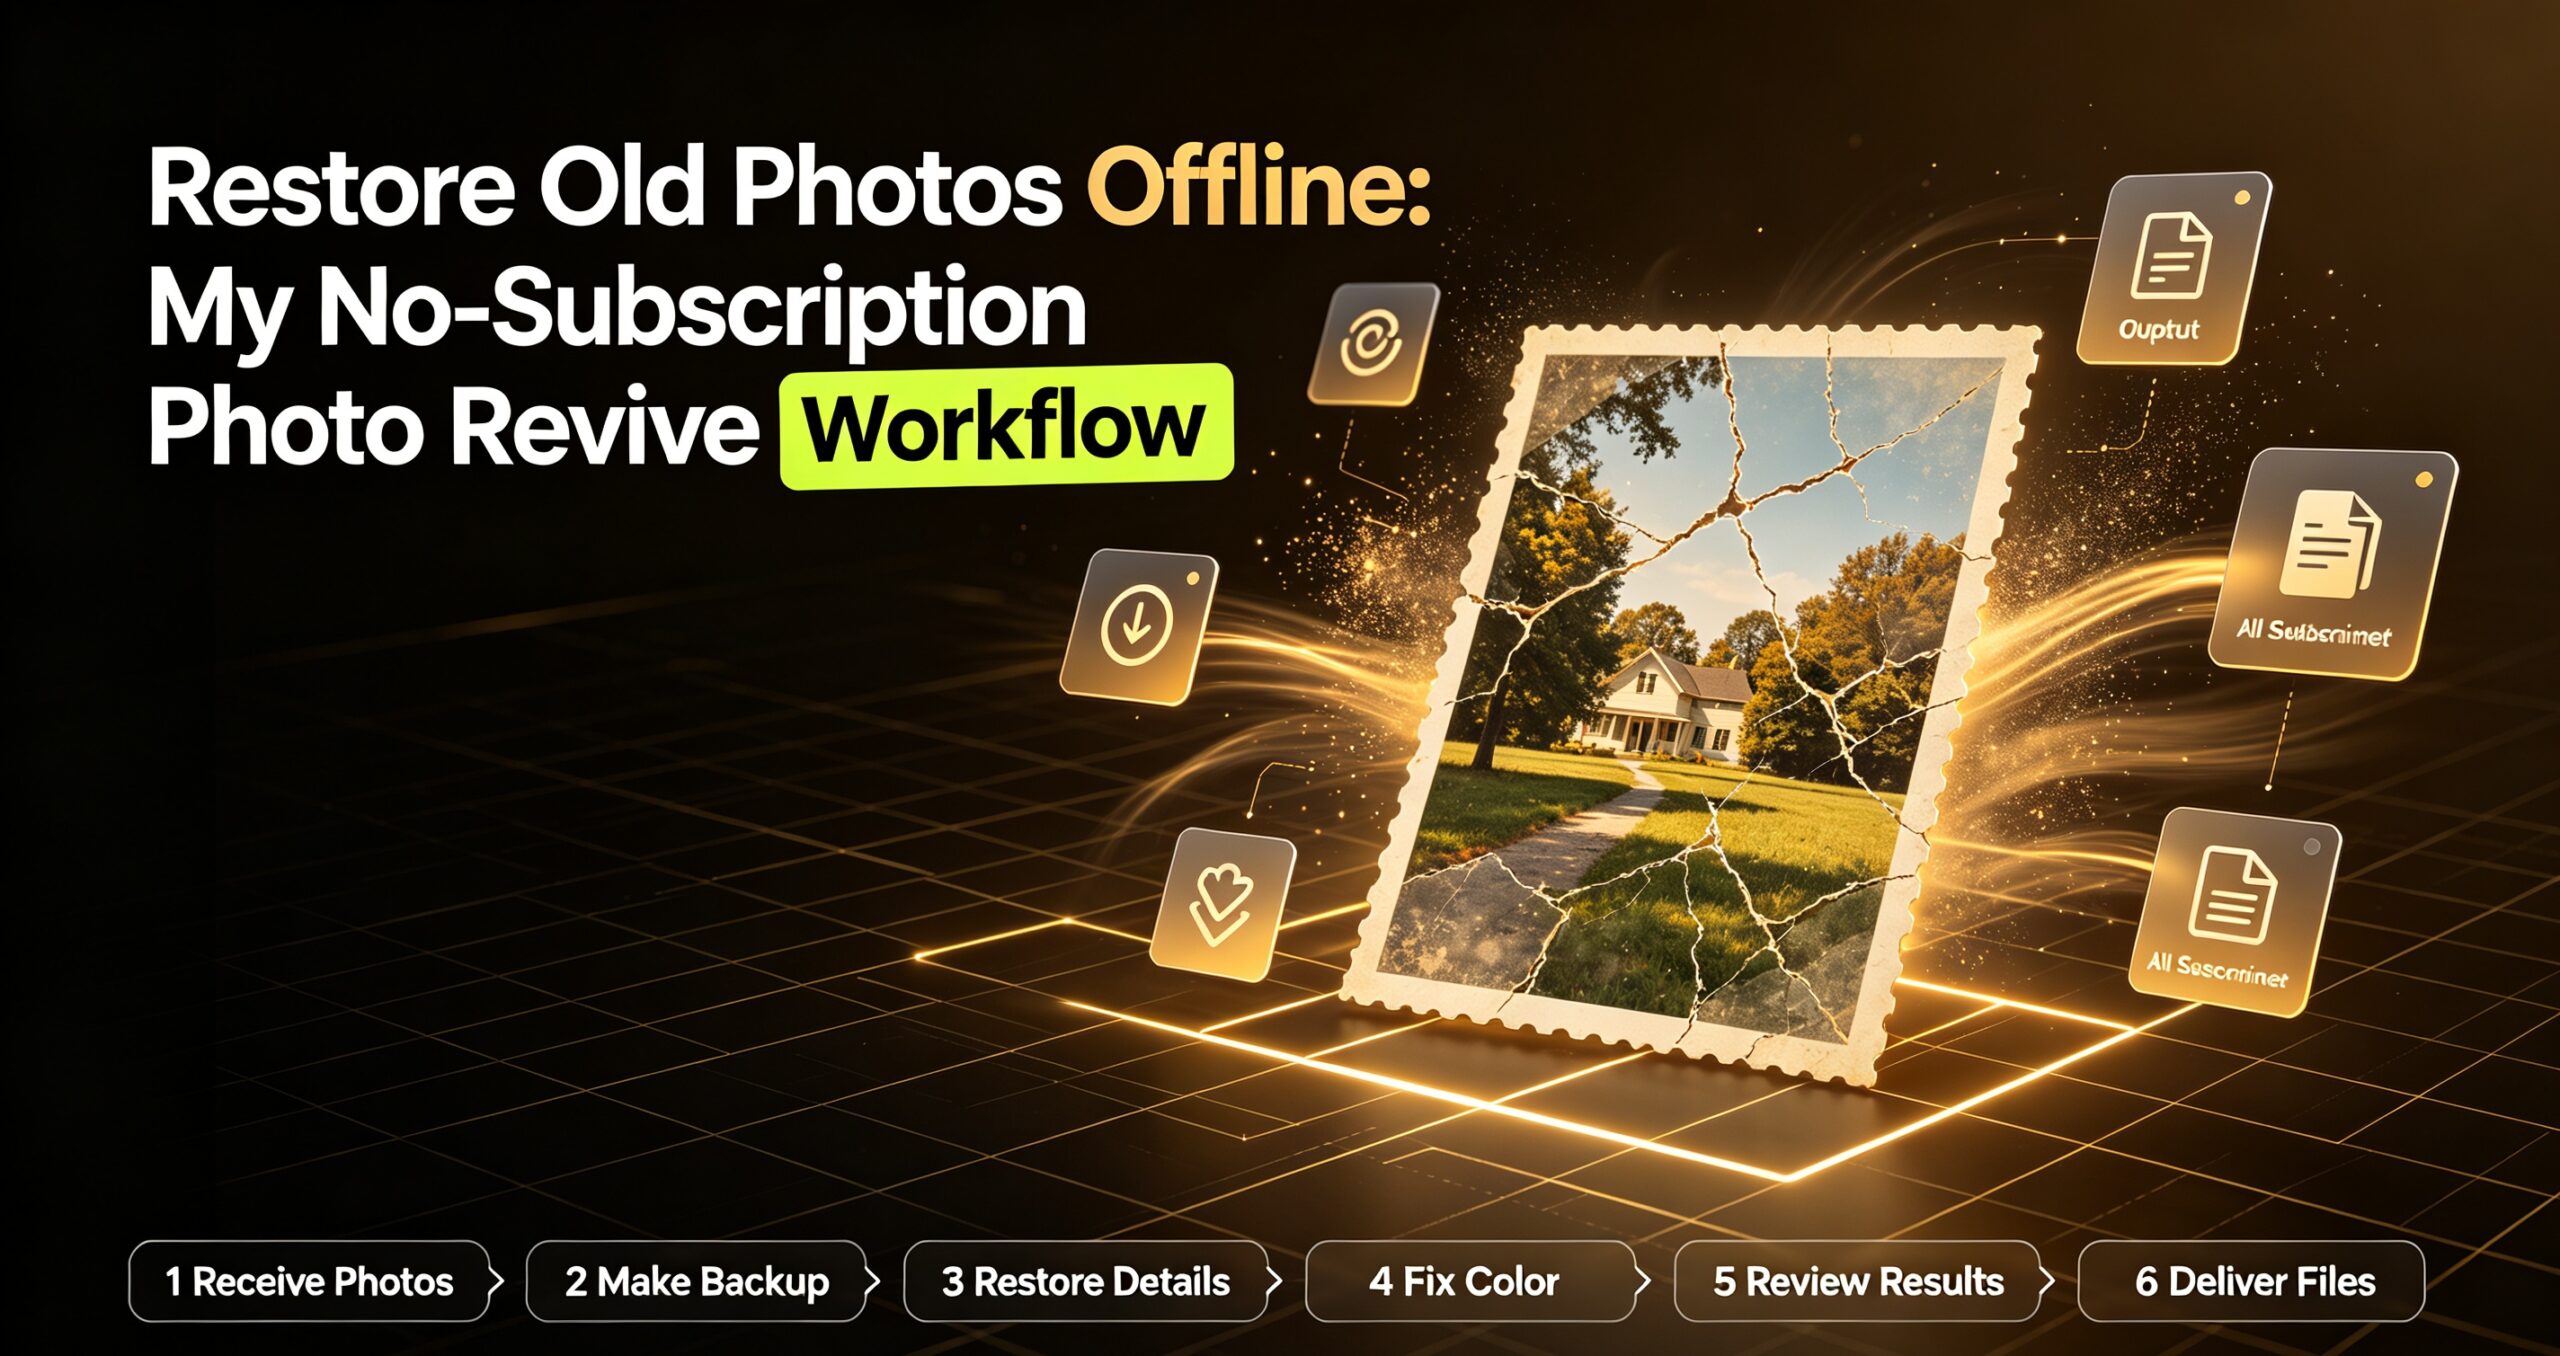
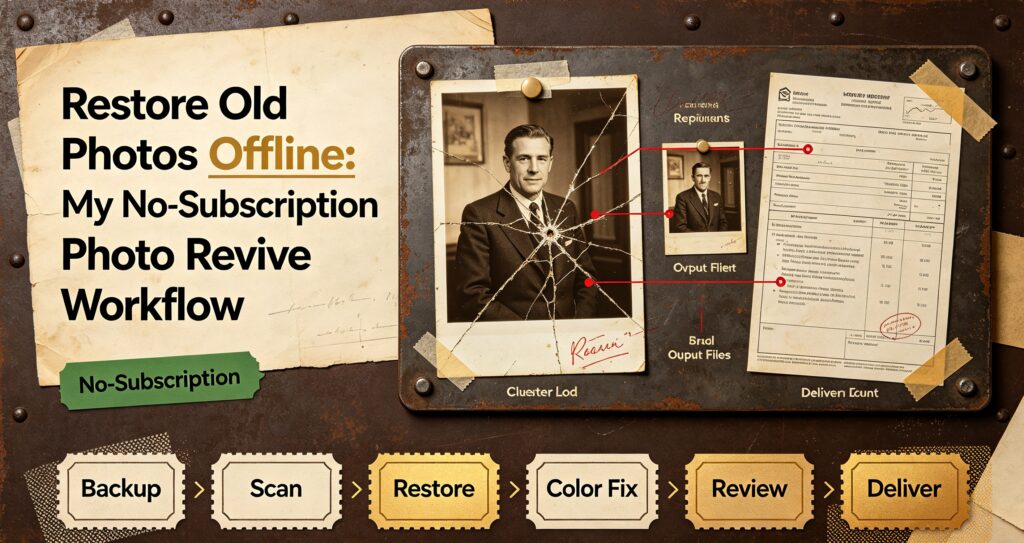
My grandmother’s photo album sat in a box for thirty years. When I finally scanned it, the results were disappointing — faded color, dust specks, scratches, and a graininess that made faces look soft and unreal. I tried a few online photo restorers. Two wanted a subscription. One plastered a watermark across the result. And all of them meant uploading family photos to a stranger’s server.
That’s when I built PhotoRevive AI, an offline photo upscaler and enhancer for Windows. It restores old photos, sharpens soft detail, removes noise, and upscales up to 4x — locally, on your own machine, with no subscription and no watermark.
This guide covers the two jobs people actually hire a photo tool for: to restore old photos that have faded with age, and upscaling images in bulk for e-commerce and content work.
Why restore photos offline?
Two reasons keep coming up, and both are hard to argue with.
The first is privacy. Old family photos, ID-adjacent documents, wedding albums, images of your kids — these are the things you should be least willing to upload to a random web tool. Even a well-meaning service stores your upload on a server you don’t control, and deleting it later is a request, not a guarantee. An offline photo restoration tool never sends anything anywhere.
The second reason to restore old photos offline is cost. Most online upscalers and restorers run on credits or monthly subscriptions. Restore a whole album and you’ve burned through a month’s credits in one evening. A one-time offline purchase removes the meter entirely.
What PhotoRevive AI actually does
The app has four modes, each in its own tab:
| Mode | What it’s for |
|---|---|
| Upscale (2x / 3x / 4x) | Enlarge images with a high-quality resampling pipeline — for printing or big-screen display |
| Enhance | Auto-correct exposure and contrast, sharpen detail, reduce noise in one pass |
| Restore Old Photo | A tuned pipeline for faded, grainy scans — denoise first, then re-sharpen and recover contrast |
| Batch Folder | Run any of the above across an entire folder of images |
It’s built on a Pillow-based pipeline — Lanczos resampling for enlargement, unsharp masking to recover perceived detail, and autocontrast plus denoise for faded scans. No GPU, no model downloads, no cloud calls.
How to restore old photos (step by step)
Restoration is less about one magic button and more about the right order of operations. Here’s the sequence that works on typical album scans.
1. Scan, don’t photograph
If you still have the physical print, scan it at 600 DPI if you can. A photo of a photo introduces glare, angle distortion, and phone-camera noise that no software cleanly undoes. If scanning isn’t possible, get the photo flat, lit evenly, and shoot straight on.
2. Open the Restore tab first, not Upscale
Order matters. If you upscale a grainy, noisy scan, you enlarge the noise too. Run the Restore pipeline first to clean and recover contrast, then upscale the cleaned result. This two-pass approach is the single biggest quality win in the whole workflow.
3. Denoise, then sharpen — never the reverse
Sharpening amplifies whatever is there, including grain. Denoise first, then apply moderate sharpening to bring back the edges you lost. PhotoRevive’s Restore mode does this in the correct order automatically, but if you’re using Enhance manually, keep it in mind.
4. Recover contrast gently
Faded photos usually need a contrast and saturation lift, but the temptation is to overdo it and get an unnatural, poster-like face. Aim for “looks like when it was new,” not “looks like an Instagram filter.”
5. Upscale last, only if you need the size
If the restored image is going to a small screen or a social post, stop here. Only upscale if you want to print or display large.
Choosing the right upscale factor
Bigger isn’t automatically better — each step up also enlarges any remaining imperfection.
| Use case | Recommended factor |
|---|---|
| Social media / web display | 2x (or 1x for safety) |
| Standard print (up to 8×10) | 2x |
| Large print / poster | 3x |
| Restored photo needing maximum size | 4x — only after cleanup |
A clean 2x beats a noisy 4x every time. If you’re unhappy with a 4x result, the fix is almost always to go back and clean the source, not to push the upscale harder.
Bulk upscaling for e-commerce and content
If your images come from a marketplace, a supplier, or an old content library, you usually don’t have one photo — you have hundreds, and they’re all slightly too small. The Batch Folder mode runs the same enhancement pipeline across every image in a folder.
My own workflow for a store of supplier photos:
- Sort the images into a single working folder. Discard anything genuinely unusable — no tool fixes a photo that was never in focus.
- Run a batch Enhance pass at 2x. Review a sample of 5-10 outputs rather than all of them; if the sample looks right, the rest will too.
- Only re-run the failures individually with different settings.
- Keep the outputs in the source folder so the originals and the processed versions sit together by filename.
This is the same logic behind removing backgrounds from 100 photos in one pass — if the job is repetitive, a batch tool beats opening files one at a time. For product photography specifically, the two tools pair well: one cleans and enlarges, the other strips the background for a clean listing shot.
Restoration versus AI generation — an important distinction
One thing worth being clear about: PhotoRevive AI restores and enhances what’s in your photo. It doesn’t invent detail that was never captured, and it won’t guess what a blurry face “should” look like. That’s a deliberate choice — generative “restoration” frequently produces a subtly different person than the one in the photograph, which is unacceptable for family archives and genealogical work.
If you want a faithful, print-worthy result from the pixels you actually have, that’s this tool. If you want a creative reimagining, that’s a different kind of product.
System requirements and output location
- Windows 10 or 11 (64-bit)
- Python-based engine with Pillow — no GPU, no model downloads
- Outputs land in the same folder as the source file by default (or a folder you choose), so results never disappear into an unexpected location
- Reads and writes JPG, PNG, and WEBP
Frequently asked questions
Can this actually restore a badly damaged photo?
It restores faded, grainy, noisy, and low-contrast scans very well. It can’t reconstruct detail from a large tear, a missing corner, or a photo that was never in focus — that requires manual retouching. The honest framing: it dramatically improves the photos you’d otherwise throw away, and it can’t perform miracles on the ones that are genuinely gone.
Does upscaling add real detail?
It doesn’t invent new detail, but a clean high-quality upscale with sharpening produces a noticeably better print or display result than stretching an image in a basic viewer. The improvement is real, just not magic.
Will it add a watermark?
No. There’s no watermark on input or output, ever.
Do my photos get uploaded anywhere?
No. Everything runs locally on your machine. This is the main reason to restore old photos with an offline tool rather than a web service.
How is this different from a free online upscaler?
Three ways that matter: no upload (privacy), no credit limit (you can process an entire album), and no subscription (one-time purchase). Free web tools are fine for a single throwaway image; they get expensive and awkward the moment you have a folder of them.
The bottom line
Restoring old photos and upscaling a folder of images used to mean credits, subscriptions, and uploading private pictures to someone else’s server. PhotoRevive AI does both offline, in one window, for a one-time price. Run Restore before Upscale, clean before you enlarge, and a box of faded scans turns back into a family album.
Want the whole toolkit? PhotoRevive AI ships inside the AI Power Suite — 9 Premium Tools Bundle — nine offline tools for one one-time purchase ($169 for $281 of software).
Put this into practice: get PhotoRevive AI for a one-time $29, run one old family photo through the Restore tab, then compare it side by side with the original. That before-and-after is the whole argument.
Disclaimer: This post contains affiliate links. If you buy through them, we may earn a commission at no extra cost to you. We only recommend tools we’ve actually used, and our opinions remain our own.